Rising hosting costs, sluggish load times, outdated control panels — most website owners recognize these warning signs. The result: frustration, wasted hours, and in the worst case, lost sales because your site or email isn’t running right.
The solution is switching providers. But that’s exactly where most people hesitate — afraid of ranking drops, data loss, or downtime.
The Numbers That Matter
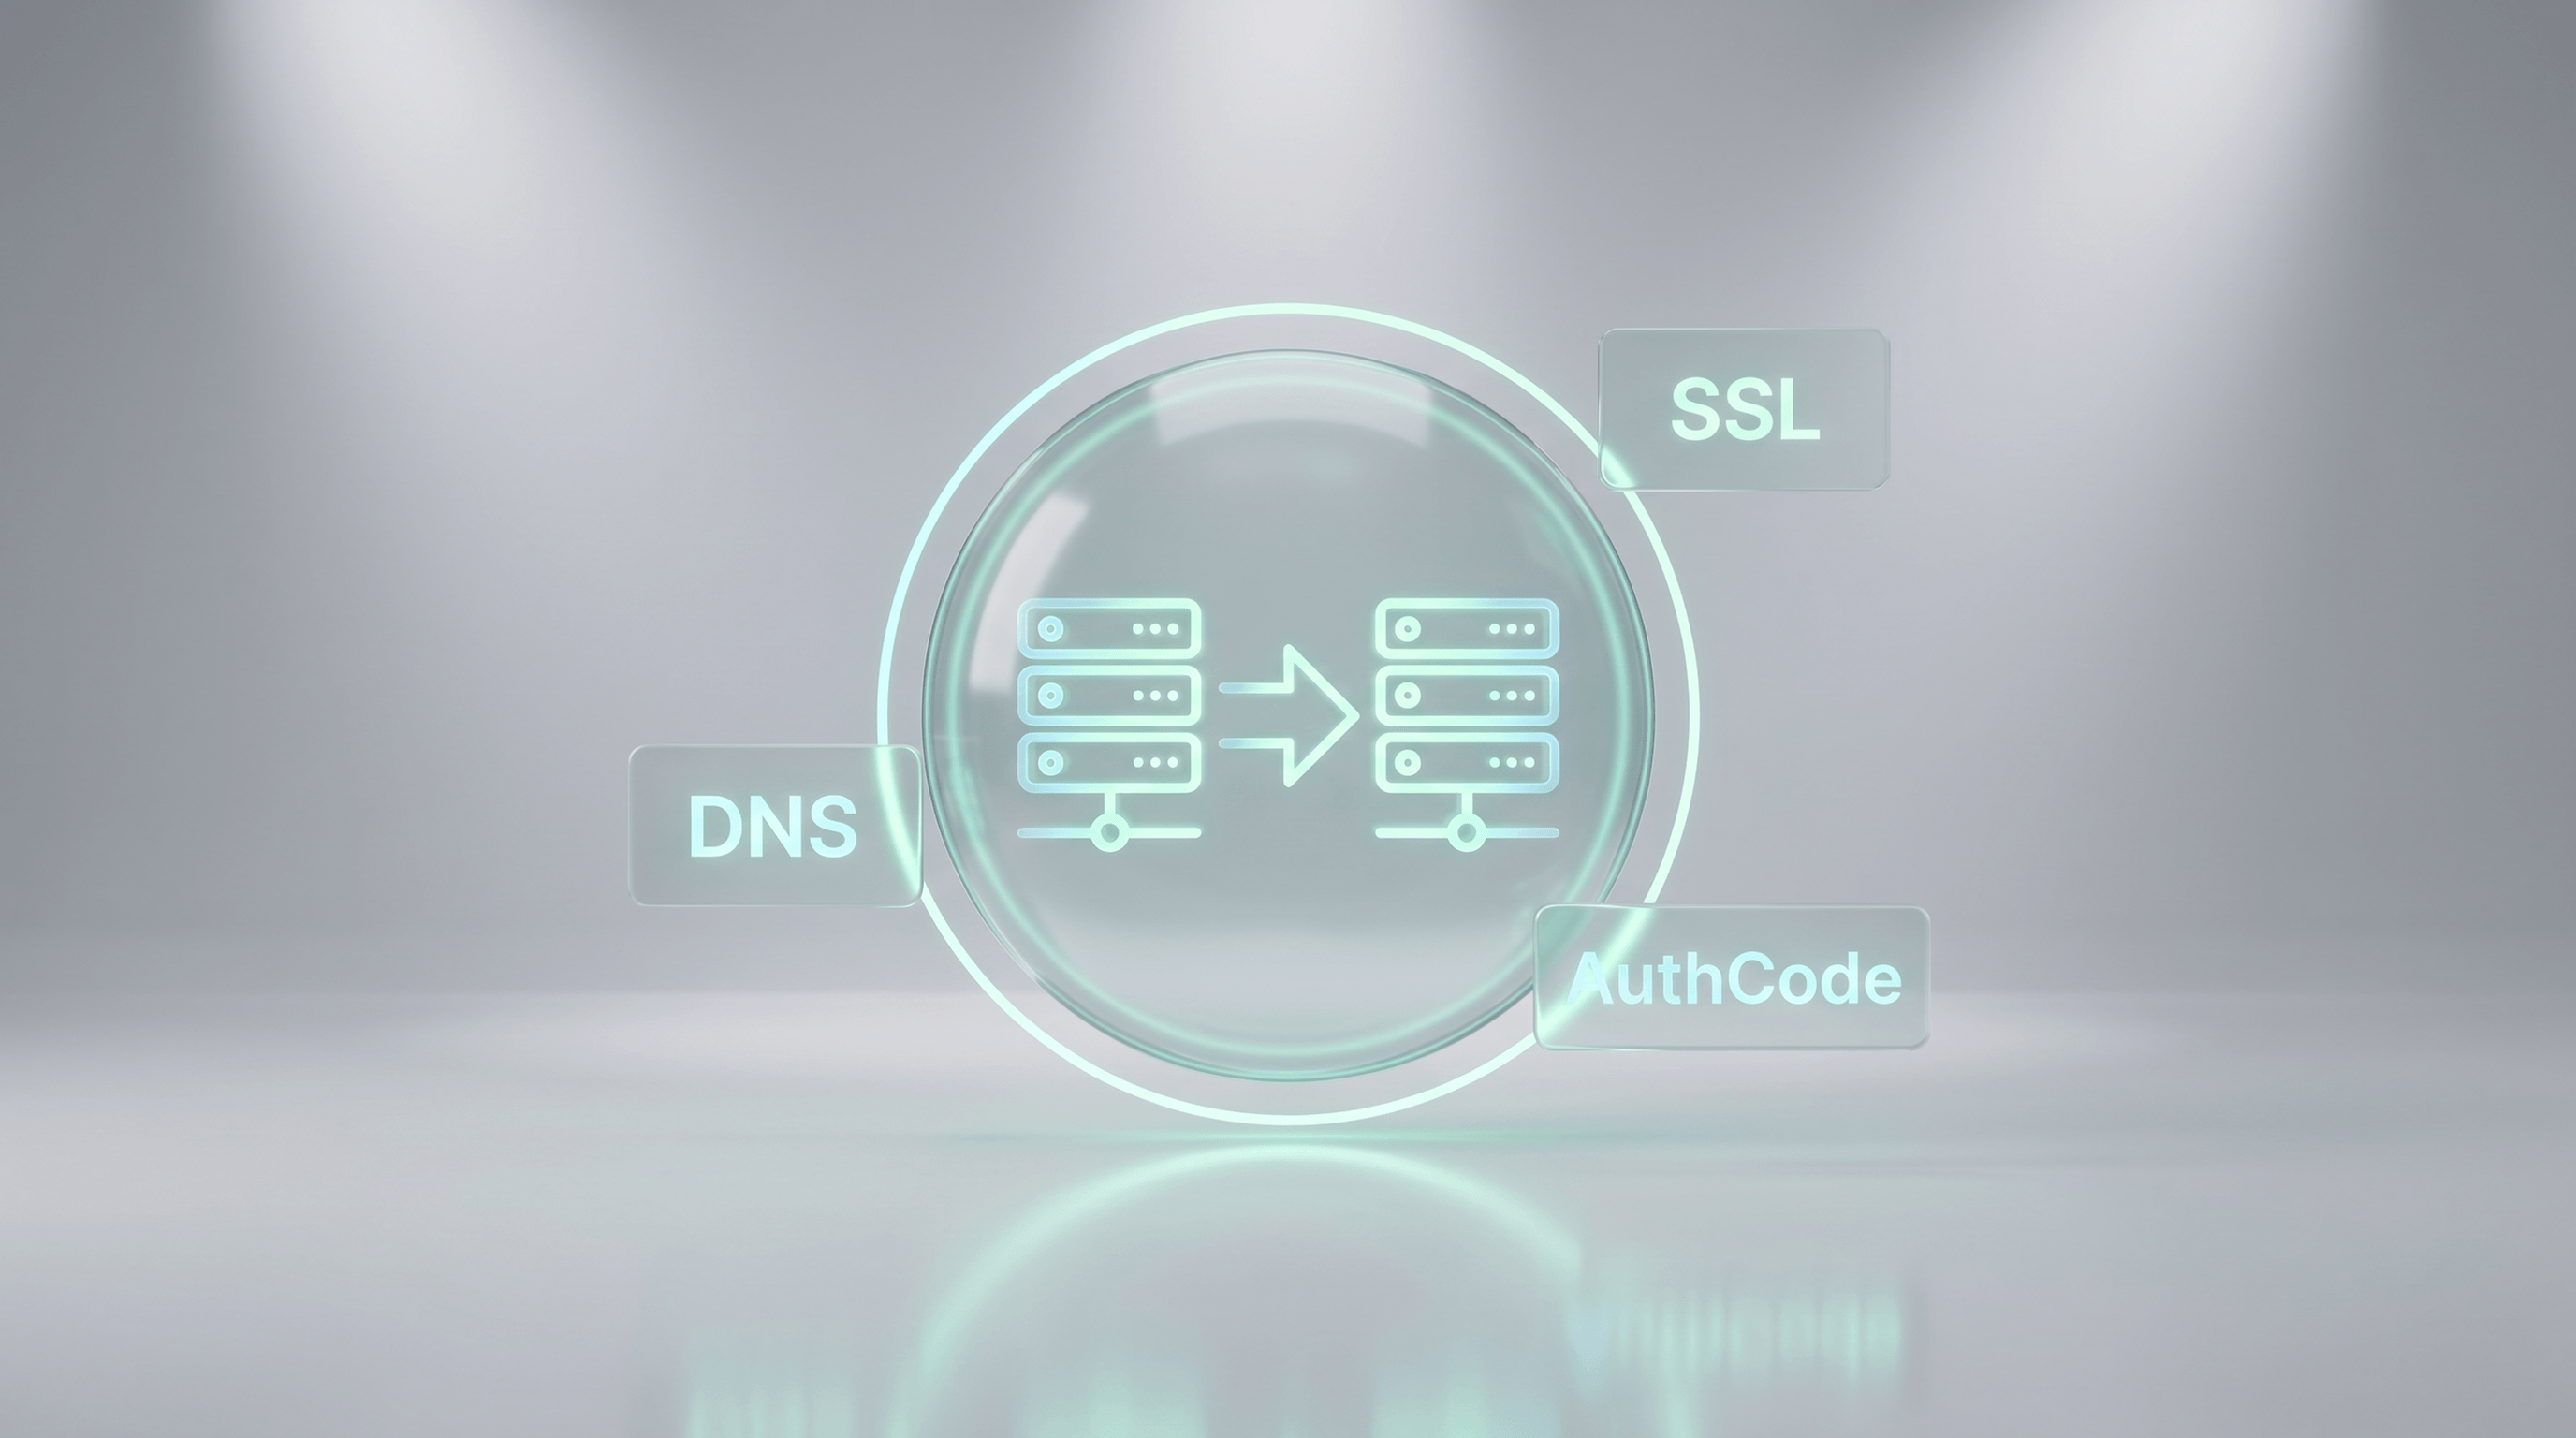
Domain Transfer, Hosting Migration, Domain Migration: What’s the Difference?
These terms get mixed up constantly — and the confusion costs time and money.
| Term | What happens | AuthCode required? |
|---|---|---|
| Hosting Migration | Files and database move to a new server; domain stays at the same registrar | No — just update DNS records |
| Domain Transfer | The domain moves to a new registrar (e.g., from GoDaddy to Namecheap) | Yes |
| Domain Migration | Both combined — new infrastructure and new registrar | Yes |
When do you NOT need an AuthCode?
In a pure hosting migration, your domain stays at the same registrar. You only change the DNS settings (nameserver or A-record) to point to the new server. No transfer, no waiting periods, no paperwork. This is the right path for most Shopify and SaaS store owners.
5 Signs It’s Time to Switch Providers
A migration takes time. These signals tell you when it’s worth it:
- Load times over 3 seconds — your host is the bottleneck, not your code
- Support responds in days, not hours — every hour of downtime costs your store revenue
- No automatic SSL — Let’s Encrypt should be standard, not a paid add-on
- Price spikes sharply after the intro period ends
- Missing features like staging environments, automatic backups, or current PHP versions
Pre-Migration Checklist
A smooth migration is won or lost in the preparation phase. Check every item before touching a single setting.
1. Verify domain registrant data
Check that the name, address, and email address in your registrar account are current. Outdated info can delay the transfer — and the auth confirmation email could go to an address you no longer control.
2. Temporarily disable WHOIS privacy
Privacy protection is useful day-to-day, but during a transfer, the receiving registrar needs to verify ownership. Disable it for 24–48 hours, then turn it back on immediately after.
3. Unlock the domain (remove the transfer lock)
Most registries lock domains by default. Log in, remove the lock, and confirm the status shows “OK.” The transfer can’t proceed until this step is done.
4. Check the 60-day lock period
After a domain is registered or last transferred, ICANN enforces a 60-day lock on outbound transfers. This cannot be bypassed — factor it into your timeline.
5. Reduce your TTL strategically — with a timeline
6. Document all DNS records
Screenshot or copy every record: A, CNAME, MX, TXT (SPF, DKIM, DMARC), NS. You’ll need this reference if anything breaks.
7. Take a full backup
Back up all website files, the database, and every email account. This is your safety net if something goes wrong at the new host.
8. Request the AuthCode (EPP code)
The AuthCode is the digital key to your domain. Request it early — some registrars send it by mail or SMS, which can take several days. Most codes are valid for 30 days.
9. Know your cancellation deadlines
Find out when you need to cancel with your current provider. Missing the window means your old contract auto-renews and you’re paying for both hosts.
Domain migration without the stress?
We handle the planning and execution — from prep work to go-live. Zero ranking loss, zero downtime.
Step-by-Step: How to Migrate Your Domain
Step 1: Book your new hosting plan
Choose a provider that fits your requirements (traffic, PHP version, backups, support). Book the plan before initiating the transfer.
Step 2: Enter the AuthCode and start the transfer
Enter the AuthCode during checkout at your new provider. You’ll receive a confirmation email — approve the transfer promptly, as some registrars impose a short deadline.
Step 3: Copy files, database, and email accounts
Transfer all website files, the database, and email accounts to the new server. Many hosts offer a migration wizard that handles this automatically.
Step 4: Update DNS and configure SSL
Change the nameserver or A-record to point to the new server IP. Then:
Step 5: Secure email and update MX records
Update your MX records before the domain delegation switch if possible, so incoming email flows directly to the new mailboxes. Temporarily reduce TTL for MX and SPF records to 300 seconds.
Step 6: Test before going live
Access the new site through the temporary host URL or a hosts file trick. Everything working? Then execute the DNS switch.
Protecting Your SEO Rankings During a Migration
Same domain name: what you still need to do
- Crawl your staging site before go-live — absolute internal links can still point to old IPs
- Add the new server property to Google Search Console immediately
- Submit a fresh XML sitemap
- Monitor crawl statistics for the first 48 hours and watch for 404 spikes
Domain name change: set 301 redirects correctly
If your domain name is changing, every old URL needs a 301 redirect to its corresponding new URL. Don’t use a blanket redirect from the old homepage to the new one — that destroys link equity.
Example .htaccess snippet:
RewriteEngine On
RewriteCond %{HTTP_HOST} ^old-domain\.com$ [NC]
RewriteRule ^(.*)$ https://new-domain.com/$1 [R=301,L]
After the switch, use the Change of Address tool in Google Search Console (under Settings) to notify Google directly.
Post-Migration Monitoring: The First Four Weeks
This is where most migration guides end. It’s also where the most critical phase begins.
Tools to use
- Uptime Robot or Freshping — free uptime checks every 5 minutes
- Google Search Console — check crawl stats daily for coverage errors and 404 spikes
- SISTRIX or Semrush — compare your visibility index weekly
What to check and when
| Timeframe | Action |
|---|---|
| First 48 hours | Active uptime monitoring, Search Console 404 check, SSL verification |
| First week | MX record test, internal link crawl, test order (stores) |
| Weeks 2–4 | Compare visibility index, run backlink check, raise TTL back to normal |
| Week 6+ | Compare rankings to pre-migration baseline, use Change of Address tool if needed |
Special Scenarios for Online Stores
Shopify: what actually works (and what doesn’t)
Connect, don’t transfer: As noted above, .de, .fr, .co.uk, .shop, and .store domains cannot be transferred to Shopify. Connect via DNS — A-record pointing to Shopify’s IP, CNAME pointing to shops.myshopify.com. Shopify provisions the SSL certificate automatically; allow 1–2 hours.
WooCommerce: update database URLs
- Install the Better Search Replace plugin
- Search for old domain, replace with new domain
- Enable “Replace GUIDs” and “Replace in serialized data”
- Run a dry run first, then the live pass
Affiliate tracking after a domain change
Affiliate networks like ShareASale, Impact, or Commission Junction tie conversions to the registered domain URL. After a domain change you may need to reapply to programs or manually update the domain in each network dashboard. Miss this and you’ll lose commissions without realizing it.
Update payment webhooks (Stripe, PayPal, others)
Run a test order after migration
After the migration, place a test order in sandbox mode. Check: confirmation email, invoice, inventory deduction, payment confirmation. The migration isn’t truly complete until all of these pass.
Don’t forget cron jobs
If your store runs cron jobs (inventory sync, invoice generation, export tasks), recreate them on the new server with identical schedules and file paths.
GDPR / Data Privacy Considerations
If your new server is in a different country — especially outside the EU — that triggers GDPR compliance requirements (Schrems II). Before migrating, confirm:
- Is the new server located in the EU?
- Do you have a Data Processing Agreement (DPA) with the new host?
- Does your privacy policy need to be updated to reflect the new provider?
Common Mistakes and How to Avoid Them
| Mistake | Consequence | Fix |
|---|---|---|
| Lowering TTL right before the migration | DNS propagation still takes 24 hours | Lower TTL 48 hours in advance and wait for the old TTL to expire |
| Not issuing the Let’s Encrypt cert first | HTTPS errors after DNS switch | Issue the cert on the new server before switching DNS |
| Skipping WooCommerce DB URL replacement | Broken links, missing images | Run Better Search Replace before go-live |
| Forgetting webhook URLs | Orders stuck on “pending” | Add all payment dashboards to your checklist |
| No backup before migration | No fallback if something breaks | Backup is non-negotiable |
| Migrating during peak season | Revenue loss during any downtime | Schedule for low-traffic periods |
| Not updating Search Console | Google keeps crawling old infrastructure | Re-add property, resubmit sitemap |
What a Domain Migration Actually Costs
- Domain transfer fee: Usually free — the new registrar charges the annual renewal fee (typically $10–15 for common TLDs), which extends your registration by one year
- New hosting plan: One-time setup fee ($0–20) plus monthly costs
- SSL certificate: Let’s Encrypt is free; premium certificates (wildcard, EV) cost extra
- Your time: The biggest hidden cost — a poorly planned migration can easily eat 4–8 hours, more if things go wrong
Let us handle the hard parts
We analyze your current infrastructure, build a custom migration plan, and execute it alongside your team. Rankings stay stable, your store keeps taking orders, and your email lands where it should.
FAQ
For most TLDs, a domain transfer takes 24–72 hours. With proper TTL preparation (set to 300 seconds in advance), visitors are pointed to the new server in just a few minutes after the DNS switch.
They're the same thing. EPP code (Extensible Provisioning Protocol) is the technical term; AuthCode or AuthInfo is what most registrars call it in their UI. You need this code to authorize your current registrar to release the domain.
Yes — with proper TTL preparation, zero downtime is achievable. Lower your TTL to 300 seconds 48 hours in advance, fully set up and test the new server, then make the DNS switch.
If you update your MX records before the domain switch and reduce the TTL, email flows seamlessly to the new mailboxes. Without preparation, there's a window where email can be lost — but it's entirely preventable.
With the same domain name: a few days to 2 weeks. With a domain name change: 8–12 weeks, sometimes up to 6 months. Proper 301 redirects and the Change of Address tool in Google Search Console speed up the process significantly.
No. Shopify does not support transfers for .de domains (or .fr, .co.uk, .shop, .store). You can connect them via DNS — the domain stays at your current registrar, and you point the A-record and CNAME to Shopify.
The transfer itself is usually free. The new registrar charges the annual renewal fee (around $10–15 for .com). Add the cost of the new hosting plan. Your biggest expense is time — a poorly planned migration costs hours.
After a domain is registered or transferred, ICANN prevents another outbound transfer for 60 days. This rule cannot be bypassed — plan your migration timeline around it.
Yes — your new hosting provider must be listed in your privacy policy (especially relevant under GDPR). You also need a current Data Processing Agreement (DPA) with the new host.
Tuesday through Thursday, overnight or early morning, outside of peak season. Avoid the days directly before or after a Google Core Update.
Bottom Line
A domain migration isn’t rocket science — but the details are where things go wrong. The TTL that wasn’t lowered in time, the Let’s Encrypt cert that wasn’t pre-issued, the webhook that stopped firing. Anyone who’s been through a messy migration knows: one mistake costs more time than the entire planned migration.
If you’re also relaunching your website alongside the migration, read our guide on how to plan a website relaunch the right way.